Writing a blog post might seem easy to many, but writing an effective blog posts isn’t really as easy as it sounds. It takes a lot of blood, sweat, and tears to create the perfect blog post that doesn’t just get traction from readers but also ends up getting you more freelance writing clients.
Personally, I have written some blog posts which took me days to complete, but once they were finally published, I was nothing less than proud and the blog posts ended up getting me a number of clients because they loved my work.
If you are a new freelance writer and you are still not sure what really constitutes a perfect blog post, then here is a complete guide for you.
At the end of the article, there is also a checklist that you can download to always ensure that your blog posts have everything needed and you haven’t forgotten anything.

1- Finalize a working title
Most new freelancers struggle to find the right topics. They often feel more comfortable when a client provides them with a topic. But, I feel every freelance writer should be able to not only write meticulously but also create a strategic content approach.
Here are a few ways you can find the right title:
Research the category
Take the category you are trying to focus and research it thoroughly. From the main topics to the sub-topics, make a list of every little thing that you should be covering in the category.
Find your target audience
Find the age group of your target audience and why they are interested in the niche you are writing in. Understand their main concerns, their biggest challenges, and every time you come up with a topic, ask yourself – Does it focus on the target audience for the website?
Search through keywords
If there are a certain keywords you would want to focus on, then try to find long tail keywords around them, which will in turn lead you to the right topics. Some of the best tools that I use to find long tail keywords include:
You can also use Google search results to find long tail keywords. Just type one of the main keywords that you would want to focus on, like ‘creative writing courses’ and scroll to the end of the page to find the ‘Search results related section.’ All the keywords here are essentially long tail ones that you can target and create a topic around.

Check what the competitors are doing
One of the most effective ways to find the right topic is by seeing what your competitors are doing. But don’t just re-write a blog post by one of your competitors as it won’t serve the purpose. Instead, ask yourself how you can approach the same topic in a better and more exhaustive way.
2- Organize and research content
I have seen writers who research as they are writing the content, but take it from someone who has made this mistake many times – Research first, write later.
Researching first allows you to organize your content better and create a structure for the article even before you have started. And most importantly, it helps you write faster since you don’t get interrupted after every paragraph to do research.
Create an outline
Add working subheadings to your blog post to visualize the content flow. If you are doing a list-type piece, then list down all the points and how you want to approach each one of them.
Note: Sub headings are crucial for blog posts because they make the content more organized and easily readable. Take this blog post for instance, if I just wrote a big blob of 2000 words without any subheadings, you would be confused about what do with it. Instead, I have used subheadings and sub-subheadings to break down all the content.
Take word limit in mind
Have you ever written a complete article and then realized you are either too far from the word limit or too ahead? That’s probably because you didn’t take word limit into account before writing.
You need to be smart here and do some maths. When you create the outline, also write the approximate number of words you will write under each subheading. Also, count the number of words taken by introduction and conclusion parts.
So, if you are doing a list type article with 5 subheadings and the word limit is 500 words, then you can first take out 100 words for introduction and conclusion. So, you are left out with 400 words.
In 400 words, you need to write 5 points, so each point will have 400/5 = 80 words.
Of course, this is just an approximate word count, you can move it around a bit. But this will give you a pretty clear idea about how much research and content you really need.
3- Write a sparkling introduction
The introduction should always deal with two things:
Problems faced by the reader
How your blog post is the answer to all those questions
It’s important to take your time with the introduction as it should be able to lure readers into reading the whole piece. If it’s a small article, you can write the introduction first. But if it’s a big article (more than 2000 words), it’s always better to write the introduction after you have written the entire body as you will be able to better skim the different solutions you have added in the article.
4- Write the rest of the content
Okay, so now it’s time to write the entire article. If you have done your research and already created an outline, then I am sure it will be much easier for you.
Refer back to research
Go back to the research you did and use it in your content. Instead of keeping research and article in the same document, you can use tools like Evernote which can clip an entire web page. This way, you will also be able to access previously researched web pages even when you are offline.
Add numbers/surveys with link back to sources to back your claims
Always use studies or surveys to back your claims if you can.
Always link back to these studies so that if a reader wants to further read on it, they can.
The best way to find a relevant study would be by googling “[keyword] + stats” “[keyword] + study”
Every subheading should give a solution
For every subheading that you have, ensure that:
- Each one puts forward a different point
- Each one is relevant to the main topic
- No two subheadings are the same
5- End with a conclusion and call-to-action
The conclusion should essentially include a takeaway and a call to action (CTA).
The CTA could be:
- A question to encourage comments
- Asking readers to visit a link
- Asking them to try a tool
6- Edit and proofread – like an editor, not like a writer
Before you start the editing process, you need to take a break. At least 30 mins break for small articles and a whole day’s break for big ones. That’s because if you immediately start editing your article after writing, then you won’t be able to identify your own mistakes. You need a fresh pair of eyes for this.
You need to edit like an editor and not like a writer.
Imagine if this blog post was sent to you by a client to edit and you are being paid just to edit this post. That’s how ruthless you need to be. Here’s what you need to look for:
Grammar mistakes
Spelling mistakes
Wrong word usage
Verb tenses
Sentence structures
Prepositions
Commas
Whether each point is relevant and provides a purpose to the article as a whole
Each sentence should be providing value to the post
The article should be in the right English – US, UK, India, and most importantly it should be uniform. This is the biggest mistake I see writers make. In the same article, they use some words in US English and others in UK English. That’s wrong. The entire blog post should be uniform with the same English.
7- Format
If you will be uploading the blog post to WordPress or or any other platforms then formatting is a must.
Here are the formatting rules you should be following:
Heading in Heading 1 or Title
Subheading in Heading 2
Sub-subheadings in Heading 3
Nothing underlined or bold
Italics for TV shows, movies, or paintings. You can also use italics where you want to emphasize a word, but don’t overdo it
A space after every comma or full stop
One line spacing after each paragraph or subheading
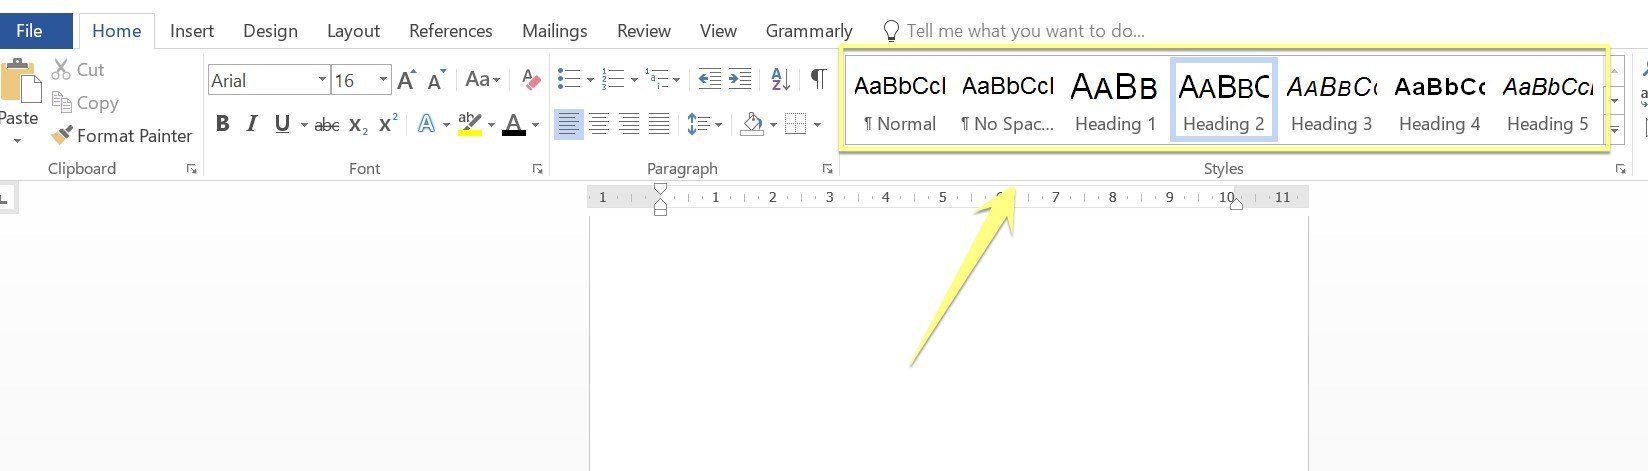
To add subheadings in Microsoft Word, click on the Home tab and you should be able to see options on top.
For Google Docs, click on the Normal Text option on top and a drop down will open.

8- Add relevant images
Relevant images can include both stock photos and screenshots. For stock photos, its always better to use royalty-free photos, here is a list of websites where you can easily get royalty-free pictures. You can also find creative commons pictures on Flickr or Google Search, but if you do use them then remember that you will have to link back to the source of the image.
If you are using screenshots, then use a tool like Tiny Take which easily takes screenshots and also allows users to add arrows, boxes, and other annotations.
9- Change your working title and subheadings into actionable ones
With everything done, it’s time to rewrite the title and subheadings into more actionable content so that the readers get exactly what you are covering in the piece and intrigued as well. The Coschedule headline analyzer is a pretty great tool for that purpose and I highly recommend it.
10- Optimization
Yes, search engine optimization for blog posts is just as important and it shouldn’t be forgotten behind.
Meta title
The title which will be displayed on search engines. It is usually the same as the main blog post title.
Description
Meta description which is displayed on search engines right below the search engine. Make it good and also include the keywords.
Backlinks
Add relevant links wherever necessary and backlinks to some of the old blog posts as well.
In conclusion
As you can see, there is a lot that needs to be done to craft the perfect blog post. But you can also reap a lot of results and future opportunities with a well-researched post.
Yes, I know, its a lot!
Lucky for you, I have created the ultimate checklist which will ensure you never forget any point while writing the perfect blog post.
You can click on the link above to open the Google Spreadsheets checklist. You can either directly copy it or go to File –> Make a Copy to save the checklist to your Google Drive


13 thoughts on “How to Write an Effective Blog Post: 10 Easy Steps (Free Checklist)”
Perfectly explained…
Thanks Komal
Wonderful. Thanks for generously sharing your knowledge.
Glad you liked it 🙂
Thanks for sharing so much of information. I really got so much of knowledge from your post. Thank you much
Thanks Zubair!
Wonderfully narrated checklist and a definite guideline for a novice. Again, a testimony of a seasoned content writer. Thanks for the article.
Thanks Arvind!
Hi Ritika,
You have simplified the process of writing a blog in a very detailed manner which is truly enlightening. A great help even for those who think they know a lot of blogging! Thank you very much. Griselda Pinto
Hi Ritika,
Got some amazing tips on writing a good content.
I would like to know which tool do I Use for
Grammatical & spelling Errors
Plagiarism
Readability score.
Please help me for the same.
Thanks,
Jayesh
Hi Jayesh, for plagiarism Copyscape is good and you can easily check readability through Yoast plugin in WordPress. For grammar errors, there is no tool that can help track everything
How to do research over a particular topic?
This is a wonderfully detailed post, Ritika. Thank you for generously sharing your knowledge. It is very helpful.